Group screenshots in folders and use auto-add so new uploads join a folder automatically. Each screenshot can belong to only one folder.
Folders let you group screenshots (e.g. by project or topic). Each screenshot can be in at most one folder. You can turn on Auto-add screenshots for a folder so new uploads that match are added automatically. Folders are optional; you can keep using search without them.
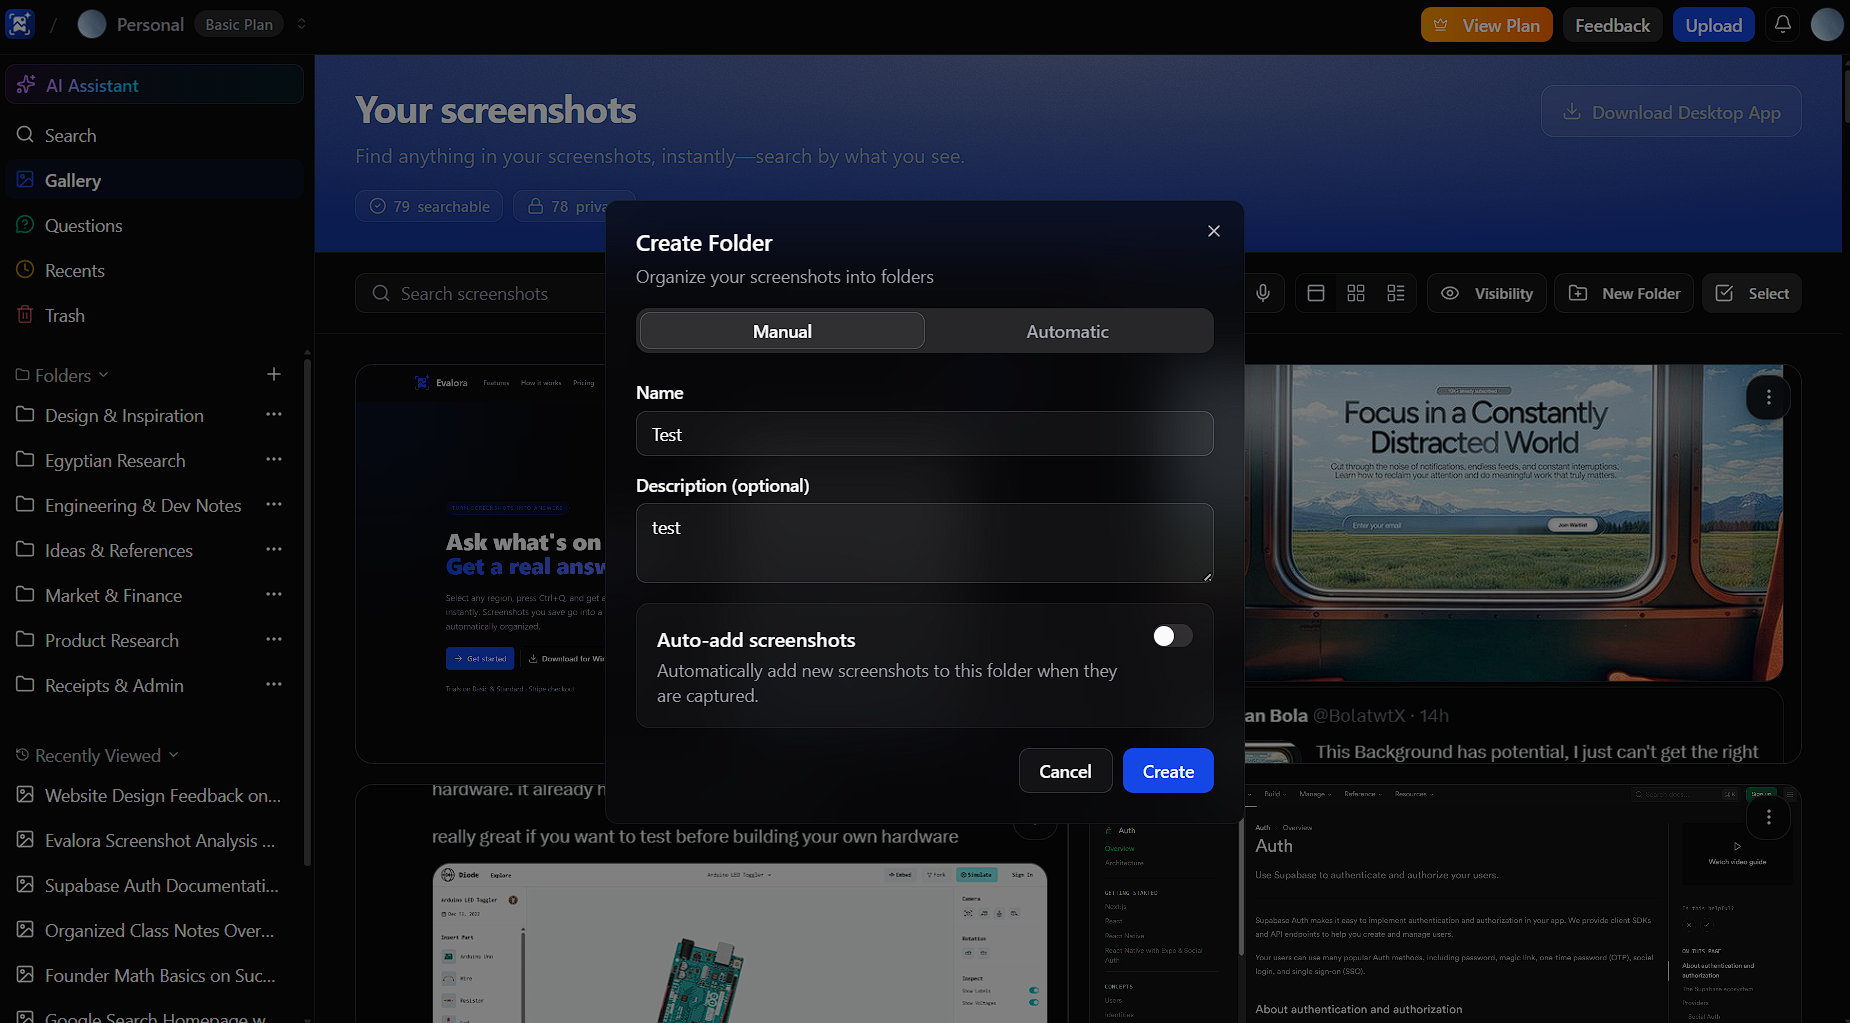
On the home page, use Create Folder in the filter bar (or the three-dot menu on smaller screens). Enter a name and optional description.
Add screenshots via Add to folder after selecting them, or from the screenshot detail view using the folder control. A screenshot can only be in one folder; adding it to another moves it.
When creating a folder, or later via the three-dot menu on the folder, enable Auto-add screenshots. New screenshots that meet the folder’s criteria are then added to that folder automatically.
Open a folder card to see its contents. Use the three-dot menu on the folder to edit name/description, change auto-add, or delete the folder.

Put what you learned into practice.